Prima Style Flower Tutorial

As promised here is my Prima Style Flower made from handmade paper. Mine is the one at the bottom. I rather liked the shape and feel of these flowers, but didn't particularly like the glitter on them. So these are the last two left from my packet of ten which have all been spritzed for scrapbooking layouts!

I bought a few sheets of this thick creamy coloured handmade paper at an art shop recently, but there are plenty of outlets on Ebay selling something similar. It takes sprays well, so I was able to spray a small bit pink for the inner.

I cut petals in three different sizes.
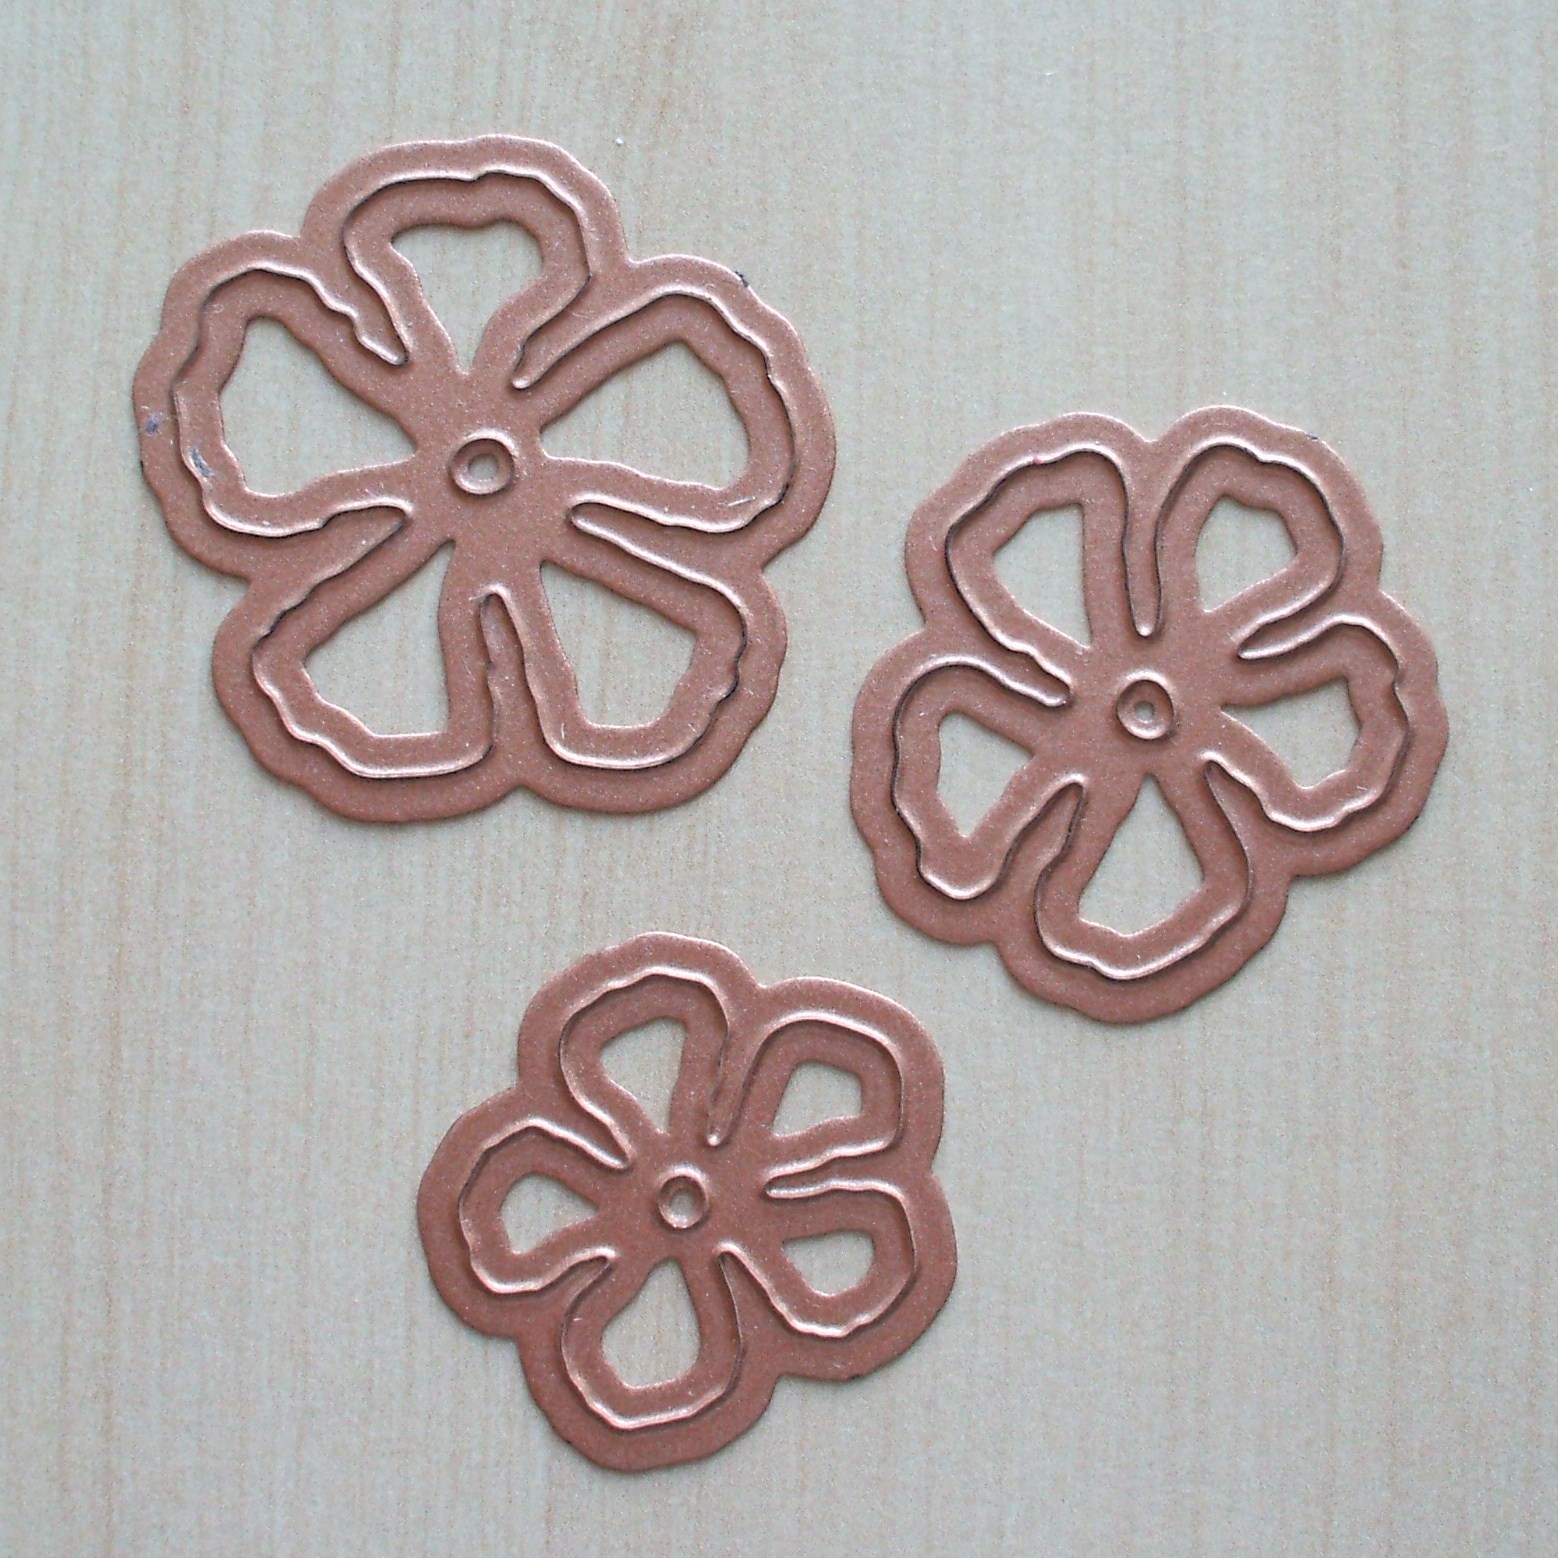
I have used Donna Salazar's Rose Creation
Dies but any five sided flower would work.
The largest is approx 1.5" and the smallest 1".
You could also get away with two sizes of petal
(see another example at the bottom of the post).

Take two of the largest petals and on the wrong
side use a ball tool on a piece of foam to
depress the petals.

Do the same on the third large petal but also
circle the ball tool in the centre of the petal
to make the petals pull inwards.

Now layer these three petals, however you might
want to curl the edges of the top petal with
a pricking tool or knitting needle.

Now to make the bud - this is the same technique
as my small rosebuds. Circle the ball
tool in the centre of each of the petals to help
shape the bud. Add a little spot of glue
to the inside of the petals and then shape.

This photograph is unfortunately a bit blurry, but I
think you get the idea of how to shape the inner bud.

Another shaky photo! Place the inner bud in the
centre of the second pink petal and add a little
spot of glue to the inside of the petals
and stick this petal to the inner so that you end up with a
bud like this.


Use the ball tool to again shape the last petal and
glue the bud into the middle.

Then finally glue two the parts together.
As the paper is quite thick it has a lovely feel and
will be reasonably robust on scrapbook pages and cards.

This flower is made in exactly the same way, but I
used a 2" and 1.5" punch.

And here is another example. Rather than making the
rosebud, I have used the smallest die from Donna Salazar's
Bitty Flowers.

rosebud, I have used the smallest die from Donna Salazar's
Bitty Flowers.

I hope that these pictures help and inspire you to have a go. I would love to see the flowers you make, so please let me know how you get on. And my apologies for the blurry ones - zooming in on these little flowers seems to result in a bit of camera shake!
Comments
Thank you
Love Chrissie xx
Blessings,
Tamara
Thank you