Christmas Memories Book
Hello and welcome to this first day of December!
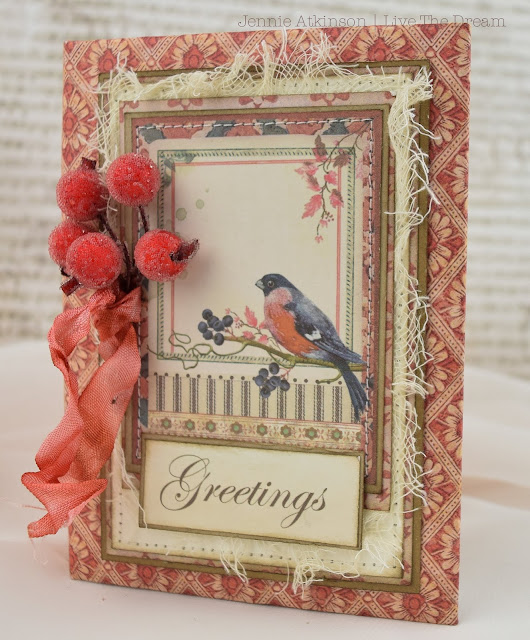
And what better than to share with you a small Christmas notebook for recording Christmas memories and which I hope will be brought out each year and added to in order create a timeline journal.
As it is the first day of the month it also means we start a new challenge at Mini Album Makers. There is no theme, just share with us any finished book you have made and if you can share with us how you made it as we love to see how books are constructed. My fabulous teamies have made some gorgeous books (as always!) so please do hop on over to the challenge blog HERE to see them.
A little bit of muslin between the layers adds a little texture.
I have kept many pages blank for writing on, but added a few covers to my signatures and used some of the gorgeous labels which come as part of the pack.
So here is a short tutorial of how the book was constructed:
I used thick mountboard to cut the covers and spine using Eileen's Notebook Die, cutting the spine from the covers and glued them to my patterend paper.
The corners were mitred and the edges folded over. I decided to use red sticky tape instead of glue - it is quick, dries quickly and means the papers lay lovely and flat.
Use a bone folder to score the papers around the spine before folding them otherwise they will crease.
I have stitched my signatures together following this wonderful video HERE by SeaLemon. It is very easy to follow. I have then glued paper to hold everything together (I am working on this bit and trying to perfect it so it lies flat and glue doesn't seep through the signatures!) and also glued some folded paperstock onto the top and bottom of the signature pile.
These pages then glue down onto the book as the photograph above shows. It is really important that you work with the covers flat at this stage.
Choosing the right papers for this part of the book is really important as either a plain or a patterned cardstock can really alter the look of your book.
The papers don't always meet the edges of the book so it is necessary to cut a small strip of patterned paper and glue this to the edge.
I made two panels to fit the front of the book from layered patterned and plain cardstock. I decided to sew the edges rather than glueing. I then sandwiched the muslin between these two layers.
A super little book measuring only 3.75" x 5" but which feels really sturdy and is full of pages for recording our Christmas and New Year memories.
As always thank you for joining me today and I hope you have a fabulous month leading up to the Holiday Season with hopefully some time for crafting.
Jennie x


Comments
Alison x