Tiny Book Wrap Around Folio
Hello and Welcome!
Eileen Hull's Wrap Around Journal is one of my favourite dies and I wondered whether I could make something similar using her new Tiny Book die to make a small folio.
I wanted to be able to make it from cardstock which is always freely available and to have a little collection of envelopes and books inside.
The front has a perfect wrap around cover (not easy to see on this design)
but I did make others!
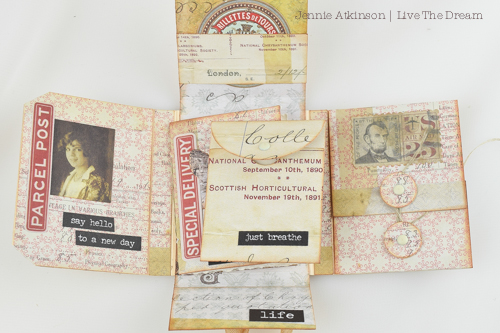
I shall concentrate on showing you how I made this little wrap journal from two tags (the one on the right) and show details of the others at the end of the tutorial.
I have cut two tiny books using two Tim Holtz Ranger tags. It is quite easy to place the tag onto the die before cutting to retain the tag top. The two pieces were then joined in the middle - use a good glue or red tape as they need to be well stuck!
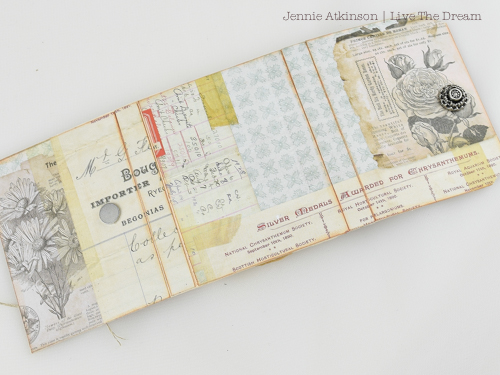
I have decorated the front covers of the journal by cutting individual pieces from one strip of paper. It is a good idea at this point to determine how you want to close the journal and add any magnets. I forgot ..... which is why the magnet is on the outside!
So the journal will close I have kept the inside page flat just decorating with some papers and embellishments.
For the middle section I have made an open folio which in this book is tied with a piece of ribbon. Lay the ribbon down first .....
..... before adhering the folio.
The folio measures 7" x 2¼" and has been scored at 1¼", 1½", 4½" and 4¾".
The scoring gives you a nice spine which allows the inside folio to close.
The envelope on the right hand side is made in exactly the same way but with the lower part glued to make a pocket. I have added a couple of folio closures (I had a die for this but you could easily make them from cutting small circles of cardstock).
The measurements for this are 5½" x 2¼" and scored at 1½" and 4½".
There are no spine folds for this pocket so it lies flat.
I have also made a little book to sit inside the middle folio.
To make this I cut a piece of cardstock 4" x 2¾" and scored the long edge at 2".
For the pages I tore roughly some tea dyed paper 4" x 2¾ but you may need to trim a little off if your cut pages hang out !
I also made a little envelope using a Spellbinders die. It is worth looking through your dies to see what you have that fits.
And everything fits very nicely inside.
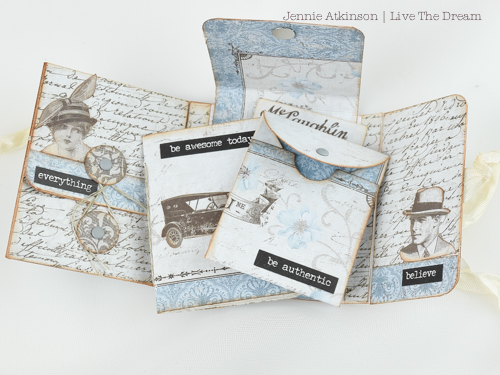
Here are some details of the other two journal folios:
This folio was made from mattboard as the base. I have made it in exactly the same way but cut a piece from the edge of the board and rounded the edges to create my wrap.
I have used ribbon on the outside to hold the book together.
The blue book has been cut using quite thin kraft cardstock. The folio becomes firmer as you add all the layers of paper when decorating.
I have used ribbon to close this book and used the small oval from the Tiny Book die to hold the ribbon in place.
I hope these three little designs will inspire you to have a go. The Tiny Book die is so beautifully cute and there are lots of possibilities for filling it with beautiful "tiny" things, such as books and envelopes. It is also great for using up lots of little scraps. All three of these folios use favourite papers leftover from other projects but which I couldn't bare to part with.
I am currently working on a similar design using the Notebook Die, so look out for another tutorial through the week!
As always thank you for joining me today.
Jennie x
Eileen Hull Tiny Book Die


Comments